
Using CoreSSH Server with SFTP Drive
Requirements: CoreSSH Server and SFTP Drive
CoreSSH Server is a secure, high-performance SSH server that provides SFTP, SCP, and shell access on Windows. It enables users to connect and upload or download files, manage remote resources, and interact with remote systems.
Introduction
Connecting an SFTP Drive to the CoreSSH Server is simple and requires just a few basic steps to establish and mount the drive. Prior to connecting, ensure that your CoreSSH Server is properly configured with a valid user account.
Setting up CoreSSH Server
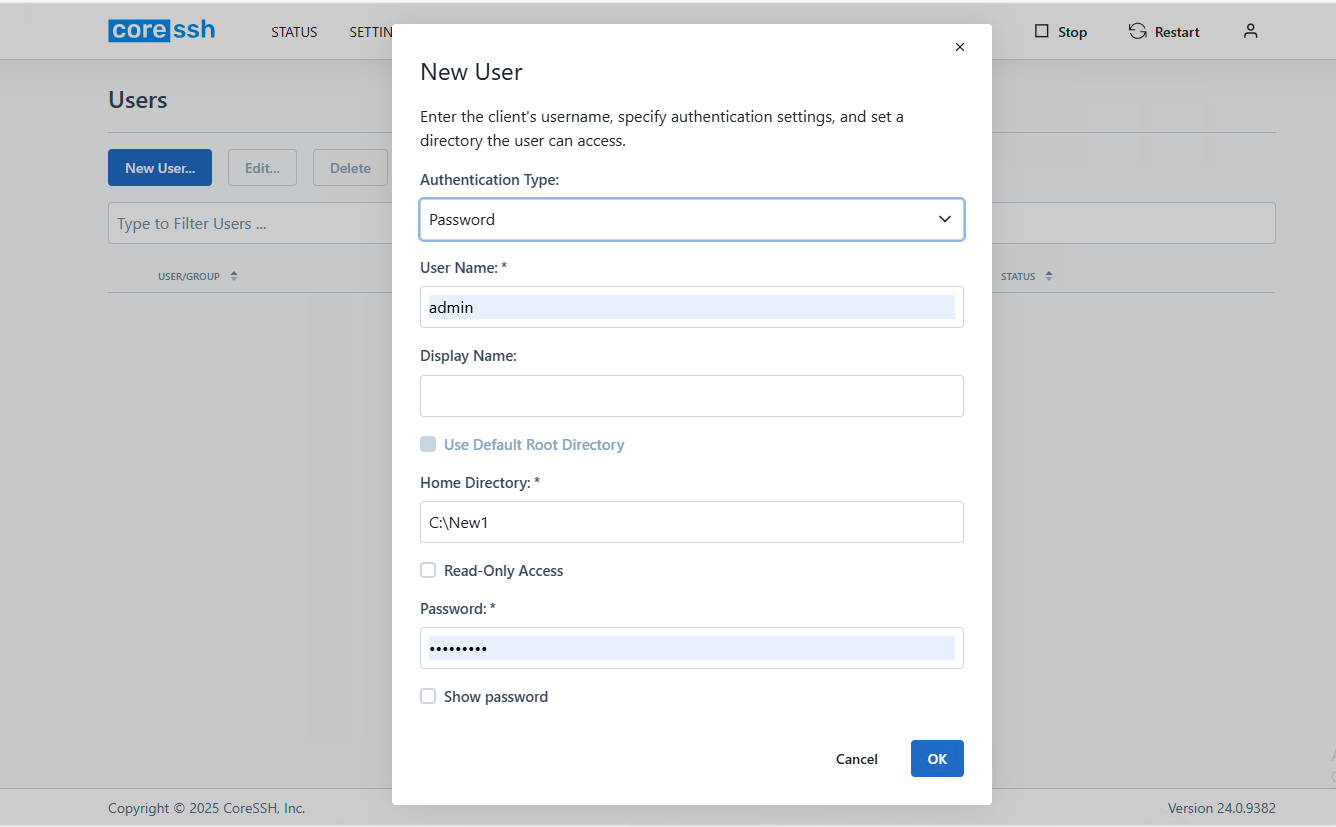
Upon launching the CoreSSH Server, create a new user by navigating to the Users page in the Admin Console and clicking the New User...button. Then specify the authentication type, username, password, display name, and home directory, or choose to use the default root directory.
After the user has been created it will be added to the Users list. The Status column shows whether the user is enabled and allowed to authenticate to the server.

Setting up SFTP Drive
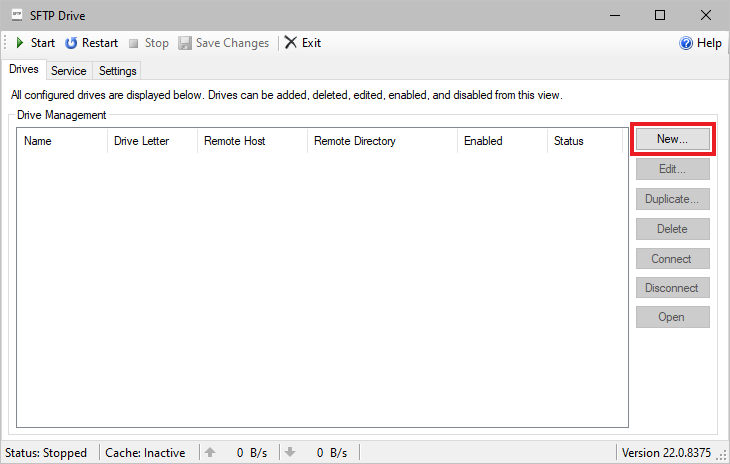
From the Drives tab of the main window, click New... to open the Edit Drive dialog.
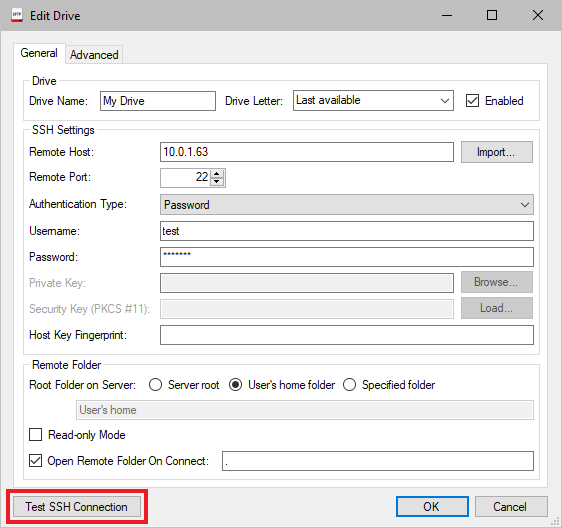
On the Edit Drive dialog input a local drive name and CoreSSH Server IP address, port number and authentication type. Click Test SSH Connection to verify the connection to CoreSSH Server, then press OK to save the new drive configuration.
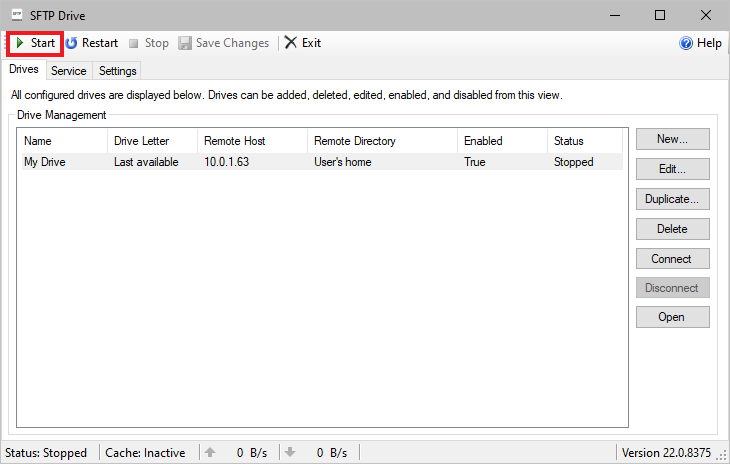
Press Start on the main window to connect the drive.
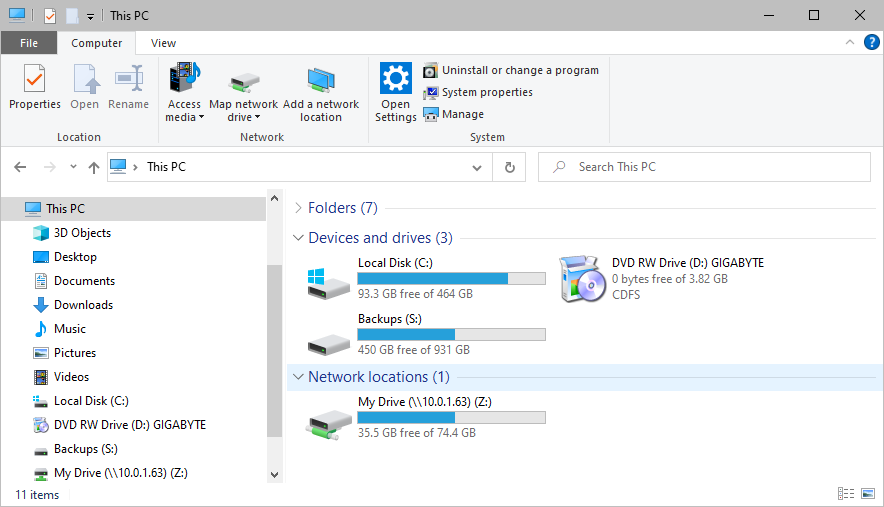
The drive should now be visible in Explorer and available to access by any application on the machine.
We appreciate your feedback. If you have any questions, comments, or suggestions about this article please contact our support team at support@nsoftware.com.