
Deploy /n software SSIS Tasks to Azure Data Factory
Azure Data Factory is a scalable, trusted, cloud-based solution for building automated data integration solutions with a visual, drag-and-drop UI. Moving on-premises SSIS workloads to Azure can reduce the operational costs of managing infrastructure, increase availability with the ability to specify multiple nodes per cluster and deliver rapid scalability. With the release of Azure Data Factory V2 Integration Runtimes (ADFv2 IR), deployment to the Azure cloud is now possible for SSIS projects that use /n software tasks.
In this article, we walk through the steps for deploying the /n software SSIS Tasks to Azure.
Deployment Prerequisites
The deployment of /n software tasks to Azure Data Factory requires the following:
-
SSIS Royalty Free License
- To deploy to the cloud, you need a Runtime License for the /n software SSIS Tasks being deployed. For more information on obtaining this license, contact our sales team. The Runtime License must be set in the RuntimeLicense task property for each /n software task before deploying the package to Azure.
-
/n software SSIS Tasks
- While installing the SSIS Tasks, make sure that you select both Azure Data Factory and SQL Server 2017 when prompted. Azure Data Factory requires that any projects target SQL Server 2017 for deployment.
-
Azure Subscription
- This can be managed in the Azure Portal. More information on Azure Subscriptions is available from the Microsoft website.
-
Azure PowerShell Az Module
- You can find instructions on obtaining Azure PowerShell from the Microsoft Documentation, or you can use the .msi installer (direct download).
-
SSMS 2012 or higher
- We recommend using the latest version available from Microsoft.
-
**Check project targets **
- Target the latest version of SQL Server supported by Azure-SSIS IR. Azure-SSIS IR is currently based on SQL Server 2017. Please ensure that your packages don't contain additional components that are unsupported on SQL Server 2017. For more information please see Microsoft's article on Azure-enabling existing SSIS projects.
Deployment Guide
Overview
- Create an Azure Resource Group
- Create an Azure SQL Server (logical server)
- Run the /n software PowerShell Script AzureDeploy.ps1 to set up and create an Integration Runtime
- Deploy SSIS Project From Visual Studio to Azure
- Use SSMS to manage and execute a deployed project
Step-by-Step Guide
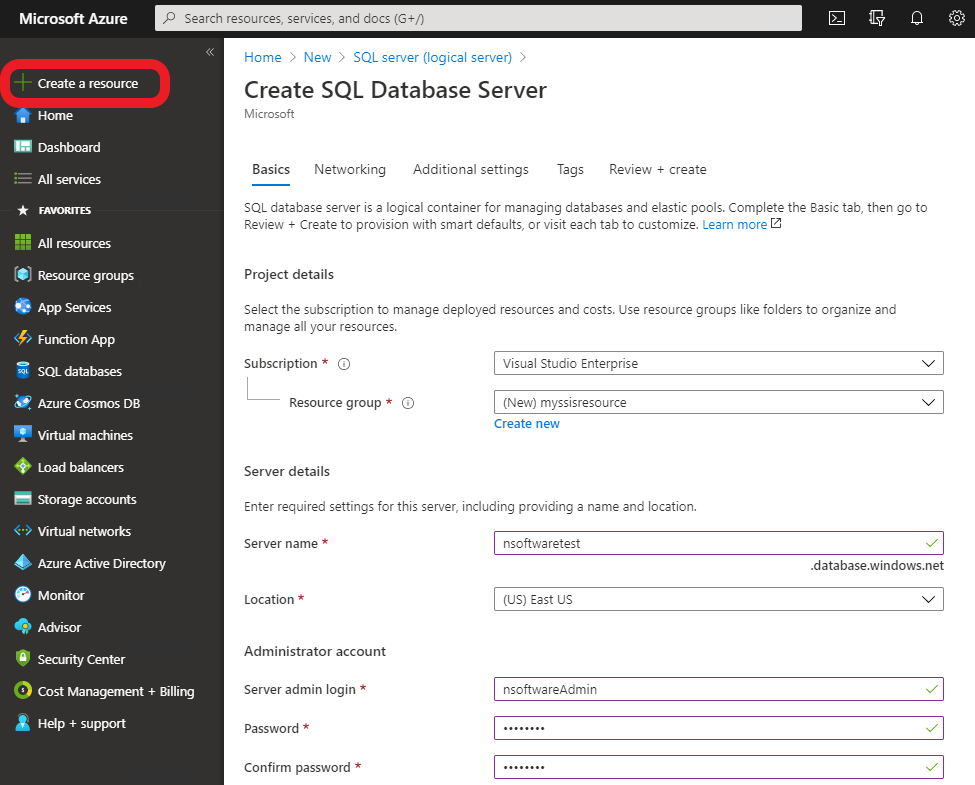
-
Create an Azure SQL Server (logical server) and Resource Group or reuse an existing one. If the existing SQL Server already has an Integration Runtime (and SSISDB), then you may overwrite it by specifying its name with the -IntegrationRuntimeName parameter. Each SQL Server may only have one Integration Runtime.
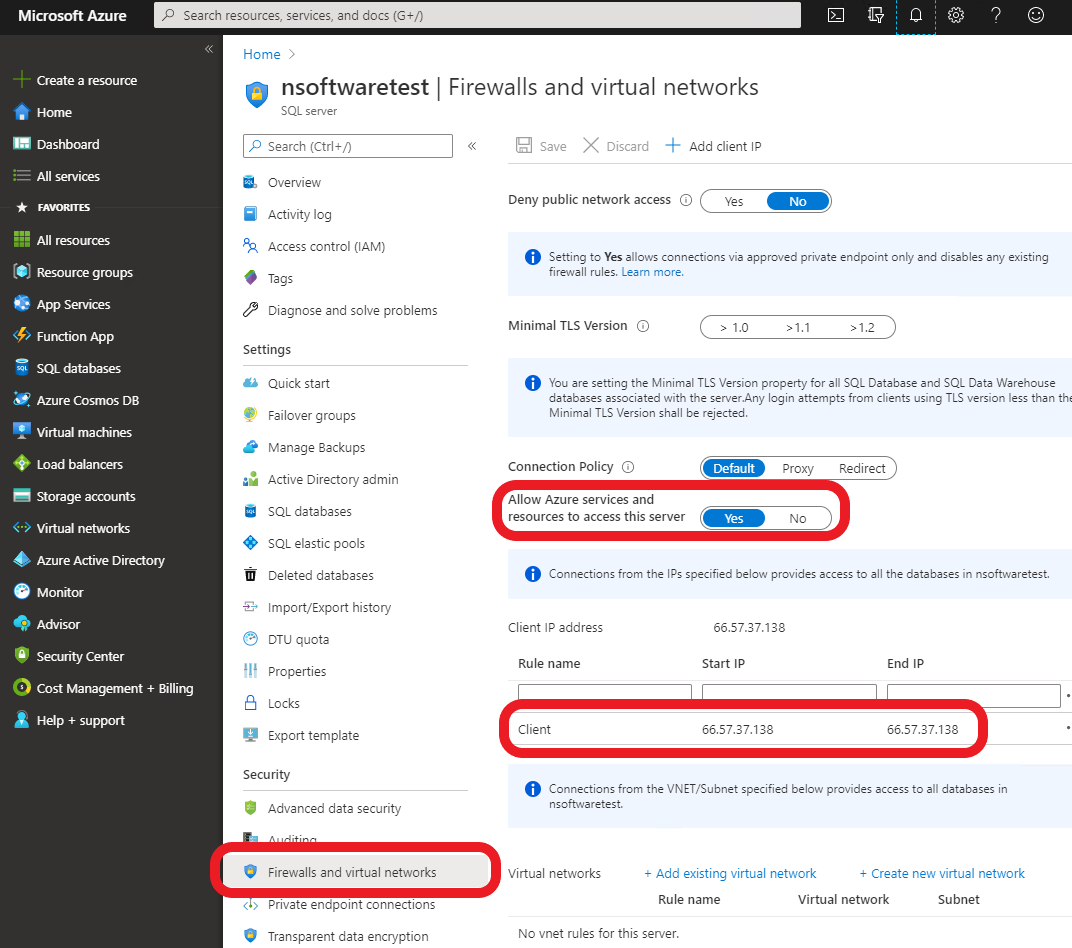
-
Allow IP addresses on the SQL Server Firewall as necessary. Be sure to select "Allow Azure services and resources to access this server" so that the setup script can start the Integration Runtime.
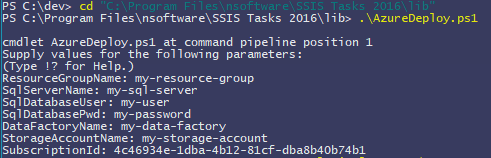
-
Run the AzureDeploy.ps1 PowerShell script, and provide the required parameters. The script can be found in the "lib" folder within the SSIS Tasks installation directory.
-
Log into Azure in the generated pop-up.
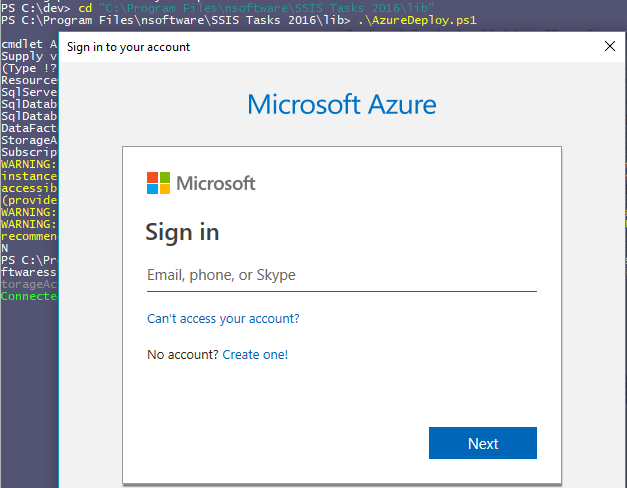
After logging into Azure, the script creates the resources necessary for deployment and starts the Integration Runtime.
-
You are now ready to deploy your SSIS Package. In Visual Studio, right-click the project -> Deploy. Note that the project must target SQL Server 2017 to be compatible with Azure Data Factory.

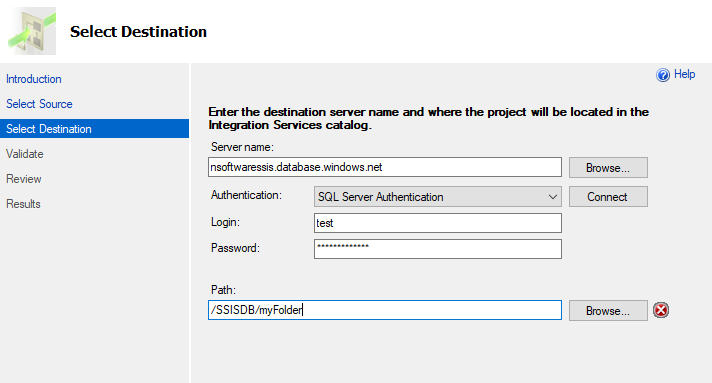
Use the Deployment Wizard to select your project for deployment and authenticate to the Azure Server as your destination.
Managing the Project in SSMS
By default, connection settings with sensitive information (passwords, security tokens, etc.) are redacted when deploying to Azure. You may provide this information again through SSMS.
-
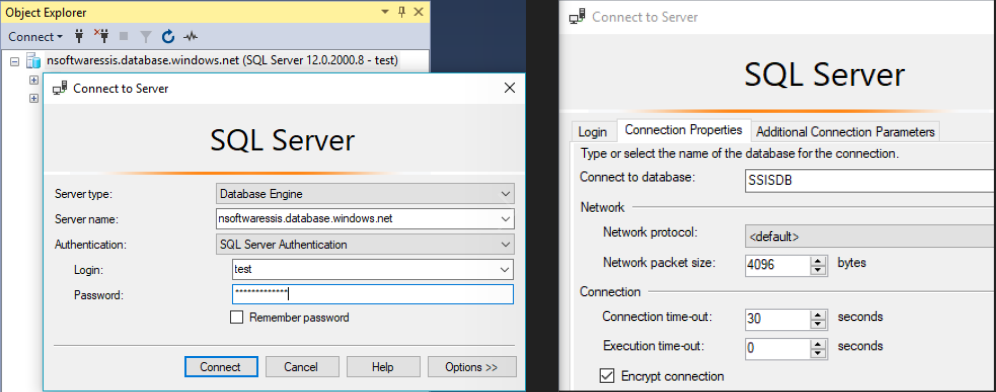
Connect to the Azure SQL ServerIn Options -> Connection Properties, set the 'Connect to Database' field to SSISDB.
- Configure the SSIS project in the Integration Services Catalog (right-click the project -> Configure).(Note: If you do not see Integration Services Catalogs, you may need to upgrade your SSMS version or set 'SSISDB' in step 1.)
- Execute the project (right-click the project -> Execute).
From here, the project is executed in the configured Azure Data Factory, and the results of executions can be viewed by right-clicking the project -> Reports -> All Executions.
We appreciate your feedback. If you have any questions, comments, or suggestions about this article please contact our support team at support@nsoftware.com.